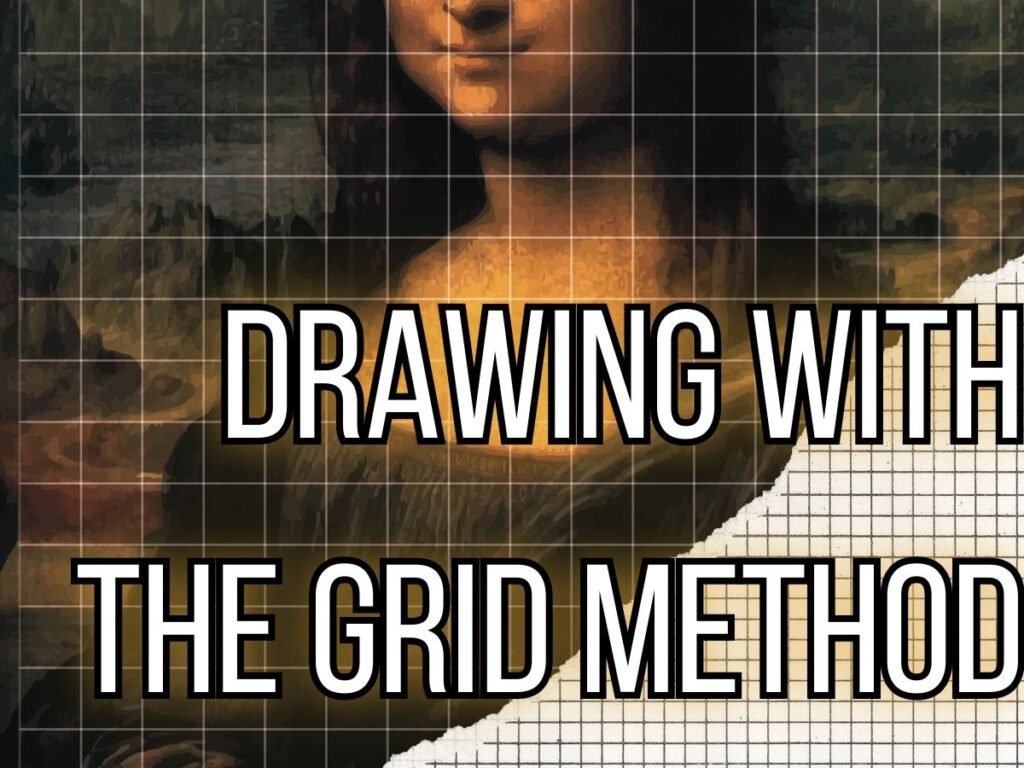
Grid Method

In this post, we’re gonna learn more about drawing with the grid method. Also, you will also get for free some exercises and some activities in different hability levels, including some famous paintings, so you can really build up your knowledge.
Drawing
 Before writing and planting, there was an activity that was even more unavoidable and urgent to humans. It was kind of a need, actually. That activity was drawing.
This need for expression came from the origins of our kind, and it remains even after so much time. If you think about it, it also shows up so early in our lives. Babies sometimes don’t have a full developed vision, but are already playing with food and everything that marks and making some drawings of their own.
Over time, different ways of drawing emerged. Each and every one of them had a different way to show us how we could create different realities through art. They also showed us a different way to look at the same things, at the same world. So… In no way this book intends to show you the only way to draw, cause such thing do not exist.
However…
Diferent tools can be used during our learning process. For different reasons. And the grid method can be one of those tools. I love to use it as a way to talk about proportion and sizes in the image. I love to use the concept of table charts to look at the grid and to organize the image in a way we can see clearly the sizing and proportion of each element of the drawing.
Table Charts
Table charts are a way to organize information in three different ways: Rows, Columns and Cells.
 |
RowsHorizontal lines of a group of related data within a table. Rows are the horizontal elements od this table. If you take a look a tour example, we have 6 rows in this table: 1, 2, 3, 4, 5 and 6. ColumnsVertical lines of a group of related data within a table. Columns are vertical elements on said table. At this table by our side, in this specific example, we have 5 columns: A, B, C, D and E. CellsRefer to each and every single one of those little squares or rectangles on our tables. Each one of them is a cell. Since they are located on our table, they belong to a certain line and a certain column. So… It’s right to say that a cell, that each one of those squares or rectangles, are a combination of a line and a column. And precisely the combination of that line and that row will be the name of our cell. Each and every single one of the cells will be named after the row and column they are a part of. For instance, we do have 30 cells in this table, and we have marked 5 of those cells to show you. So… A1 (a combination of the column A and line 1), C3 (Column C line 3), D2 (Column D line 2), B6 (column B line 6) and E5(Column E line 5). Size of a tableThe size of a table will always be given by the multiplication of its columns and its lines. You can have it ordered by the line (LxC, in this case, 6×5) or by the column (CxL, in this case, 5×6). Number of cellsThe number of cells in a table will be given by the multiplication of the table size. In our example, we have 6×5(LxC)=30. If you count it, you will see we do have 30 cells. |
Using the concepts of table charts in the Grid Method
As we have said before, there are many ways to draw, to exercise your hand your eyes to the craft. There are so many different techniques..! Look at this technique not as the only way to draw, but as a tool that will bring attention to your eyes and to your hands to proportions and sizing.
If you want to start using this technique and don’t know how, don’t try to draw everything at once. It might get overwhelming. Those exercises that I’m offering here have different difficulty levels, so, feel free to start with a more begginner friendly if it seems a little too difficult at the moment.
I’m gonna divide those exercises in some categories, feel free to download and try them, by yourself or with your students.
Level one – Pixel art and the grid method
Pixel art is a kind of art that is originated and inspired by pixels and the visual of games and technology from the 80’s and 90’s. It’s usually developed in grid paper, and it can function and be read using the concepts of table charts.
Each and every cell in that table chart is read as a pixel. Pixel is the smallest unit of measure or display on a digital screen. Back then, in the 80’s and the 90’s, pixels were actually visible as little colorful squares, small parts of the image. That eventually turned smaller, and smaller, and smaller, untill the point we can not see it individually on current photos and vídeos.
If you want, while working with pixel art, you can name columns and rows in your grid paper. That way you can actually have a bit more control on where exactly you want to color.
In this example, we will use very simple exercises of pixel art, and they all have the same color. However, there are different levels of work in pixel art.
![]()
Level two – Simple images in the grid method drawing
Here you will actually dive more into the grid method, but with more simple images.
There are many different approaches for working with this technique. Our favorite (and more beginner friendly) is to isolate every cell and draw only what is happenning in that specific cell. And only move on to another one when you’ve completely finished drawing what’s on that cell.
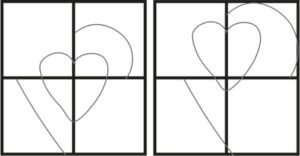
If you’re just starting, don’t try to draw everything at once, it might make things a little harder. |
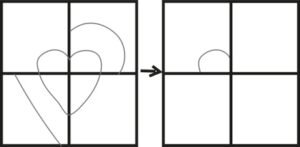 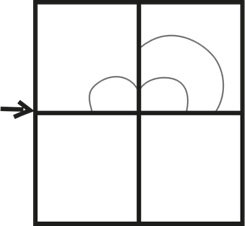 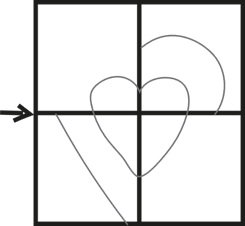
Try to follow each and every cell, isolating it. Analyzing only that happens inside that cell. That way, it gets easier to follow along. |
I’m gonna challenge you to try to follow the drawing, at first, cell by cell, row by roll. Don’t try, at first, to draw everything at once. Use the tool as a way to perceive how many squares and how much space every piece of your drawning occupies.
For the sake of this exercise, you will get right every cell you can do as the model. If you are a teacher, you can also try to use it with your students. How do they understand space and divisions in the image they see? Are they putting the right piece in the right space? That’s the challenge here. And, remember… This is a tool. This is exercise. It’s not suppose to define the way you draw. It’s just a challenge. Use it as you will, take this recomendations as suggestions. Ok? Let’s do it then and have some fun, shall we?

Level three – Famous paintings in the grid method drawing
Now we’re ready to get into some paintings. There are different levels of difficulty amongst them, so, feel free to choose the ones that you feel like it’s more appropriate to your skill level. But don’t forget to challenge yourself a little too. And… After finishing the ones offered free on this site, you can also check out our book with more than 25 images of works of art throughout history to be done in the grid method.
 |
 |
 |
 |
 |
| Rouen Cathedral by Monet | Abaporu by Tarsila do Amaral | Arthemis Ariccia – Greek Sculpture | Marilyn Monroe by Andy Warhol | Parthenon – Greek Temple |
